

| TL;DR: Before a long-distance Canadian road trip, check for the four things that actually strand people: brake pad thickness (replace below 3 mm), serpentine belt and tensioner condition (measure wear, don't just look for cracks), cooling system health, and tire condition (including the spare). Then pack an emergency kit for remote Ontario's realities – cell dead zones north of Barrie on Highway 400, long gaps between services, and weather that changes fast past the Canadian Shield. A pre-trip inspection takes about an hour and is far cheaper than a tow from Parry Sound. |
Quick Answer: What Makes a Car "Road Trip Safe"?
A vehicle is ready for long-distance Canadian driving when all five of these are true:
- Brakes: Pad friction material is above 3 mm, rotors are within spec, and brake fluid is less than three years old.
- Belts and hoses: The serpentine belt passes a wear-gauge check, the tensioner holds steady, and no coolant hose is soft, swollen, or weeping.
- Cooling system: Coolant is at the correct level, correct concentration, and the right type for your engine.
- Tires: At least 4/32" of tread, correct pressure for a loaded vehicle, no sidewall damage – and a spare that's actually inflated.
- Fluids and filters: Oil within its service interval for the full trip distance, topped-up washer fluid, and a cabin filter that isn't choked.
Everything below explains how to verify each of these, and what to do when one fails.
Why Do Long Trips Break Cars That Seem Fine Around Town?
Most Burlington driving is short-cycle: a run to Mapleview, a commute down the QEW, a school pickup. That kind of use hides problems.
Highway driving changes three variables at once:
- Sustained heat. Three hours at 110 km/h keeps the cooling system, transmission, and wheel bearings at operating temperature far longer than a 20-minute commute ever does. Marginal components fail under sustained load, not brief load.
- Sustained load. A car packed with four people, luggage, and a rooftop carrier can add 300–400 kg. That loads the brakes, suspension, and tires well past their daily condition.
- Distance from your shop. A worn belt in Burlington is an inconvenience. The same belt near French River is a tow, a hotel night, and whatever the closest shop charges for a part they have to order.
The failure was there the whole time. The trip just revealed it.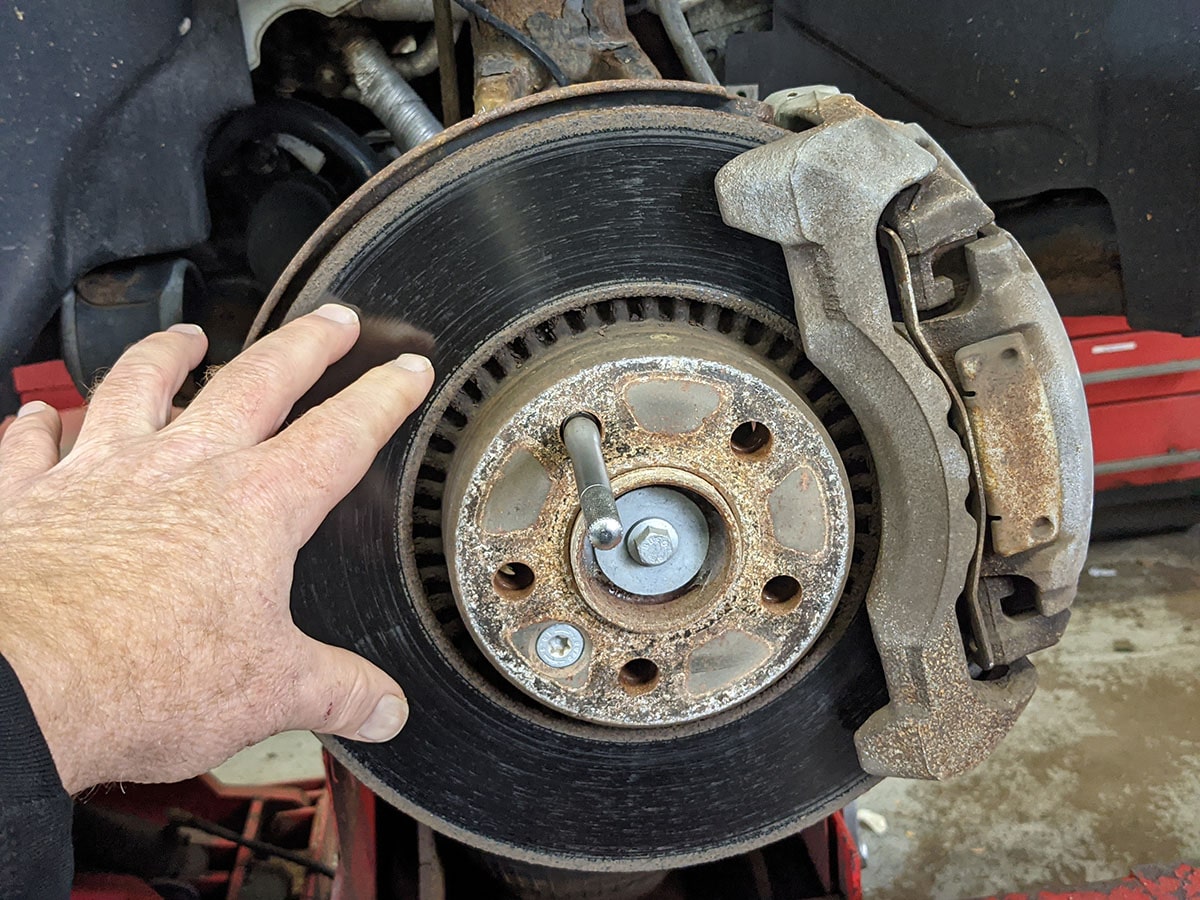
How Thick Should Brake Pads Be Before a Long Trip?
Brake pads are the single most trip-critical wear item, because pad wear accelerates dramatically once you're into the last few millimetres – and because mountain or cottage-country descents demand far more of them than flat highway does.
What are the brake pad thickness numbers?
- New disc brake pads: roughly 10–12 mm of friction material, depending on the vehicle.
- Monitor closely: 4–5 mm. Safe for local driving; not what you want at the start of a 3,000 km trip.
- Replace now: 3 mm or less. This is the threshold most Ontario shops use as the pass/fail line during a safety inspection, and it's the point where remaining pad life becomes unpredictable.
- Damage territory: below 2 mm, you risk backing-plate contact, which scores the rotor and turns a pad job into a pad-and-rotor job.
How do I check brake pads myself?
You can get a rough read without removing a wheel:
- Turn the steering fully to one side to expose the front rotor and caliper.
- Look through the wheel spokes at the pad pressed against the rotor face.
- Estimate the friction material – not the steel backing plate. A standard pencil eraser is about 5 mm wide as a reference.
- Check the rotor surface for deep grooves, a pronounced lip at the outer edge, or blue heat discolouration.
This gives you a yes/no on whether it needs professional measurement. It does not tell you about the inner pad, which frequently wears faster than the outer pad on a sticking caliper – and that's the one you can't see.
What are the warning signs I shouldn't drive on?
- A high-pitched squeal at low speed that disappears when you brake (the wear indicator doing its job)
- Grinding – metal on metal, meaning the pad is gone
- A soft or sinking brake pedal, which points to fluid or hydraulic issues rather than pads
- The vehicle pulling to one side under braking
- A steering-wheel shudder when braking from highway speed, usually due to rotor thickness variation
What about brake fluid?
Brake fluid is hygroscopic – it absorbs moisture from the air over time. Water-contaminated fluid boils at a much lower temperature, and boiling fluid means a pedal that goes to the floor exactly when you need it most: a long descent with a fully loaded car. Most manufacturers specify a flush every two to three years, regardless of mileage. Before a mountain trip, this is not optional maintenance.
How Do I Know if My Serpentine Belt Will Survive the Trip?
The serpentine belt drives your alternator, water pump, power steering pump, and A/C compressor. When it fails, you don't lose one system – you lose charging, cooling, and steering assist within a few kilometres of each other. It is the classic "stranded on the shoulder" failure.
Why doesn't the old "look for cracks" advice work anymore?
Because belt chemistry changed. Belts made before roughly 2000 used neoprene, which cracked and chunked visibly as it aged. Modern belts use EPDM rubber, which wears the way a tire does – the ribs gradually lose material, and the belt sits deeper in the pulley grooves.
An EPDM belt can be 80% worn and still look perfectly fine. Visual inspection alone will not catch it.
How is belt wear actually measured?
With a belt wear gauge – a small tool that seats into the belt's ribs and reads whether material loss has passed the replacement threshold. It takes about 30 seconds, and any shop should have one. If a shop tells you your belt is "fine" without touching it with a gauge, they guessed.
Typical replacement intervals run 90,000–160,000 km, but check your owner's manual, and treat age as a factor too – rubber degrades on a calendar, not just an odometer.
What else should be inspected with the belt?
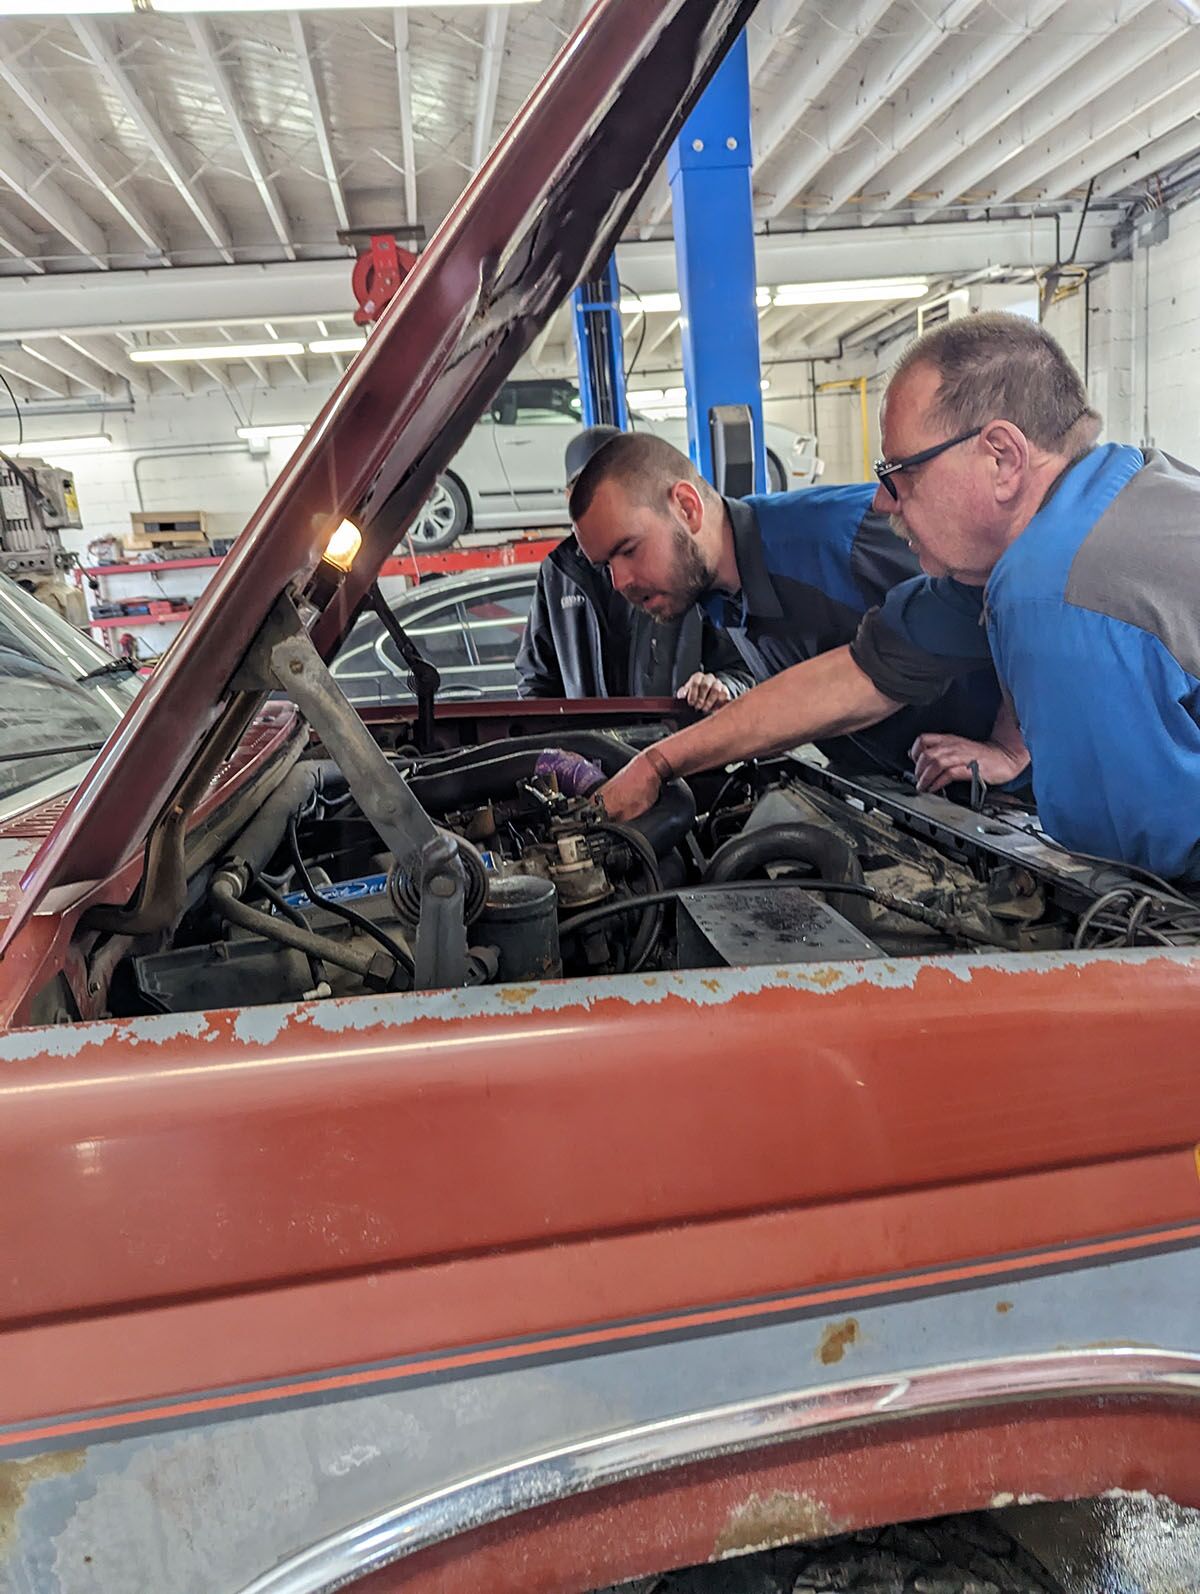
The belt is usually not the part that fails first:
- Automatic tensioner: Should hold consistent pressure without bouncing or chattering. A worn tensioner spring lets the belt slip, which glazes it and causes squealing on cold starts.
- Idler pulleys: Spin them with the belt off. Any roughness, wobble, or noise means the bearing is on its way out.
- Belt alignment: Ribs should sit squarely in every pulley groove. Misalignment shreds belt edges.
- Timing belt (if equipped): Different component, far higher stakes. On an interference engine, a snapped timing belt destroys valves and pistons. If you're near the interval – commonly 120,000–160,000 km – do it before the trip, not after. Many modern engines use a timing chain instead; your owner's manual will tell you which you have.
What are the audible warning signs?
- Squealing on cold start or when the A/C engages
- Chirping that changes with engine speed
- Any visible fraying along the belt edges or missing chunks from the ribs
What Else Should Be Inspected Before a Long Drive?
Cooling system
Sustained highway speed in August heat is when a marginal cooling system finally gives up. Check that coolant is at the full mark when cold, that the concentration is correct (a 50/50 mix protects to roughly −37°C and raises the boiling point), and that hoses are firm rather than spongy or brittle. Look for crusty white or coloured residue around hose clamps, the water pump weep hole, and the radiator seams – that's dried coolant marking a slow leak. Also, confirm the rad fan actually cycles on; a fan that's failed goes unnoticed at highway speed and overheats you the moment you hit stop-and-go traffic.
Tires
- Tread depth: 4/32" is the practical minimum for wet highway driving. The legal minimum is lower, but legal and safe are different standards when you're hydroplaning at 110 km/h.
- Pressure: Check the door-jamb placard, and inflate to the loaded-vehicle spec if your placard lists one. Underinflated tires under a heavy load build heat, and heat is what causes highway blowouts.
- Age: Check the DOT code on the sidewall – the last four digits are the week and year of manufacture. Rubber over six years old is worth a professional assessment regardless of tread.
- Sidewalls: Look for bulges, cuts, or cracking. A sidewall bulge is a blowout that hasn't happened yet.
- The spare: Spare tires lose pressure sitting in the trunk for years. Check it, and confirm you actually have the jack, the wrench, and the wheel-lock key. If your vehicle came with a sealant kit instead of a spare, check the expiry date on the canister – the sealant does expire.
Fluids, wipers, and lights
- Engine oil: If your service interval will come due mid-trip, change it before you leave.
- Transmission fluid: Towing or heavy loads generate significant heat. If the fluid is dark or smells burnt, address it now.
- Washer fluid: Fill it and carry a spare jug. Highway grime, bug splatter, and construction dust go through more than you'd expect.
- Wipers: Replace anything that streaks. Summer thunderstorms across southern Ontario go from clear to torrential in minutes.
- Lights: Walk around the car with someone confirming brake lights, signals, reverse lights, and both headlight beams. Add fog lights if equipped.
What Should Be in an Emergency Kit for Highway 400 and Northern Ontario?
Once you're north of Barrie on Highway 400 – heading toward Muskoka, Parry Sound, Sudbury, or the North – the drive changes character. Services thin out, cell coverage becomes patchy, and the shoulder you break down on may be a long way from anything.
Core kit for any Canadian road trip
- Booster cables or a lithium jump pack (a jump pack is better – it doesn't require a second vehicle to stop for you)
- Flashlight or headlamp with fresh batteries – a headlamp keeps both hands free for a tire change
- Reflective triangles or LED flares – critical on unlit highway shoulders
- First aid kit
- Basic tools: adjustable wrench, screwdrivers, pliers, duct tape, zip ties
- Tire pressure gauge and a 12V compressor
- Work gloves and a small tarp or mat to kneel on
- Litre of the correct engine oil and a jug of premixed coolant for your vehicle
- Non-perishable food and at least 4 L of water
- Phone power bank – assume you won't have a working outlet or a tow for several hours
Ontario-specific additions
- Paper map or downloaded offline maps. Cell coverage along Highway 400 north of Parry Sound and through much of the Canadian Shield is genuinely unreliable. Do not assume live navigation.
- Insect repellent. Standing on a shoulder near Muskoka in summer without it is its own kind of emergency.
- Rain gear. Changing a tire in a downpour on the shoulder of the 400 is miserable and less safe if you're soaked and cold.
- A blanket or emergency bivvy, even in summer. Overnight temperatures north of the Shield drop considerably, and a breakdown at 11 p.m. can mean hours of waiting.
- Roadside assistance details written down, not just saved in an app that needs data to load. Include your policy number and your plate.
- Wildlife awareness. Moose and deer collisions spike at dawn and dusk on northern Ontario highways. This isn't a kit item – it's a reason to plan your driving hours.
What to do if you break down on the highway
- Signal and get as far onto the right shoulder as possible; on the 400-series, past the rumble strip and beyond the white line.
- Hazards on immediately.
- If traffic is heavy and fast, everyone exits on the passenger side and waits well away from the vehicle, behind the guardrail if there is one.
- Place triangles or flares well back – roughly 30 metres or more at highway speeds, further on a curve or hill crest.
- Call for assistance. On 400-series highways, the OPP can be reached at *677 (*OPP) from a cell phone.
When Should I Book the Inspection?
Book it two to three weeks before you leave. Not the day before.
That buffer matters for a practical reason: if the inspection finds a worn belt, a seized caliper, or a control arm bushing, the part may need to be ordered. Two weeks gives you time to get it fixed properly. Two days gives you a choice between cancelling the trip and driving on a known problem.
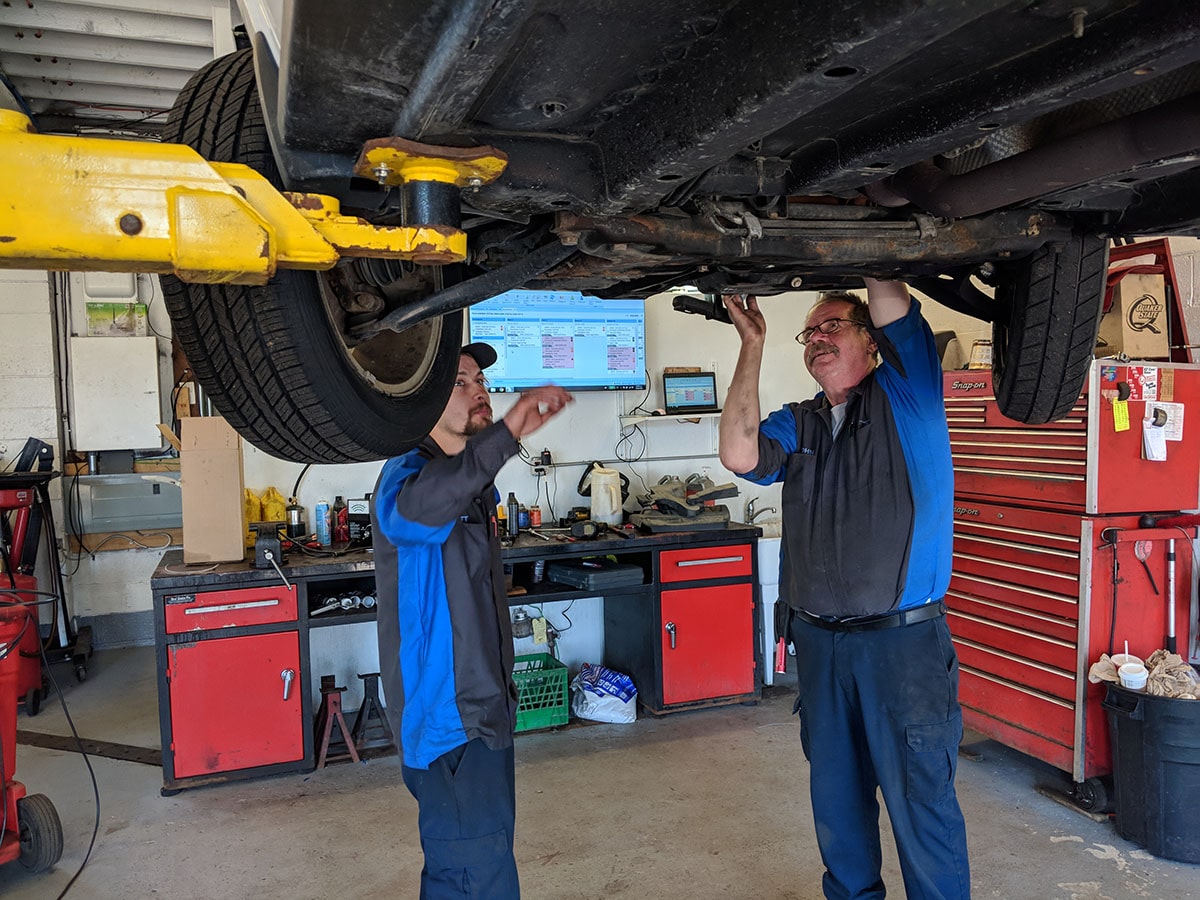
A proper pre-trip inspection covers brakes and brake fluid, belts, hoses, and the cooling system, tires including the spare, suspension and steering components, battery load test, all lights, wipers, and a fluid-level check across the board.
Frequently Asked Questions
How long does a pre-trip inspection take? A thorough pre-trip inspection typically takes about an hour. Any repairs identified are additional and depend on the parts required.
Can I drive with brake pads at 3 mm? For short local trips, 3 mm is borderline and should be scheduled for replacement. For a long-distance trip – especially one with mountain descents or a heavily loaded vehicle – replace pads before departure. Pad wear accelerates in the final millimetres, and remaining life becomes hard to predict.
How often should a serpentine belt be replaced? Most manufacturers specify replacement somewhere between 90,000 and 160,000 km. Because modern EPDM belts wear without cracking visibly, replacement should be based on a wear-gauge measurement rather than appearance alone.
Can I drive on winter tires during a summer road trip in Ontario? It's legal, but it's a poor idea for a long highway trip. Winter tires use a soft compound designed to stay pliable below 7°C. On hot summer pavement, that compound gets squirmy – stopping distances lengthen, handling gets vague, and fuel economy drops. Worst of all, sustained highway heat wears them at several times their normal rate, so a summer road trip can burn through a season's worth of tread you paid for. If your winter tires are still on as the calendar turns to May and June, swap them before you leave.
What should I do if my car overheats on the highway? Turn off the A/C, turn the heater to maximum to pull heat off the engine, and pull over safely as soon as you can. Do not open the radiator cap while the system is hot – it's pressurized and will spray scalding coolant. Let the engine cool completely before checking levels, and call for assistance rather than continuing to drive an overheating engine.
Is cell service reliable on Highway 400 heading north? Coverage is inconsistent north of Parry Sound and through much of the Canadian Shield. Download offline maps before you leave and carry your roadside assistance information written down rather than relying on an app.
Serving Burlington, Oakville, Hamilton and Halton Region
The Auto Station has been keeping Golden Horseshoe drivers safe on the road for over 15 years – from the QEW and the Burlington Skyway to Highway 400 cottage runs and cross-country trips. If a long drive is coming up, book a pre-trip inspection and leave with the confidence that the car is not the thing you need to worry about.
